When your email server does not share your hosting server you will need to add specific DNS records to the DNS settings on your server or on your domain name register website so you can send emails from the domain. This is the case for Office 365. A lot of people are unaware of this and do not understand why they cannot send or receive emails from their chosen domain.
1.) Sign in to your domain registers website or your hosting provider
Your domain name register is the website where you purchased/registered your domain name. You may have purchased/registered it in the same place as your hosting when you were purchasing your hosting.
2.) Find the DNS settings for your domain
Choose the domain that you wish to edit and find where to edit the DNS. You may have to click ‘Advanced DNS’ to make any changes.
NOTE: If you have changed your Name Servers (pointed your domain away from your domain name register to a hosting account) you will need to make the DNS changes there.
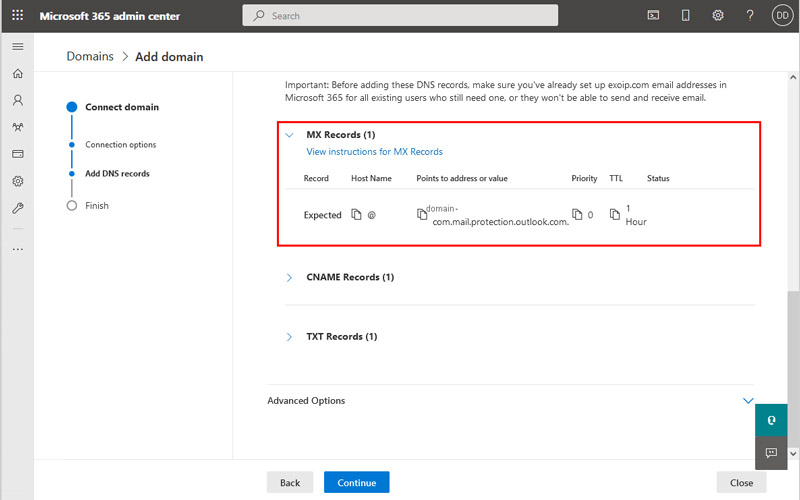
3.) Create the following DNS records
Use your Office 365 MX, CNAME, & TXT to create new DNS records for your domain.
In most cases you will need to delete any other MX, TXT and CNAME records that already exist.
4.) Save your changes and wait for your changes to propagate
It often says this can take up-to 72 hours but usually it takes 5-10 minutes.
To check if your DNS settings have propogated you can check using 3rd party tools such as MX ToolBox.
If you need any help with adding Office 365 DNS settings get in touch with our partners Tekkiewho can help with all aspects of e-mail set-up.